GlossWorks Detailed: 2011 Audi R8: V10 Spyder
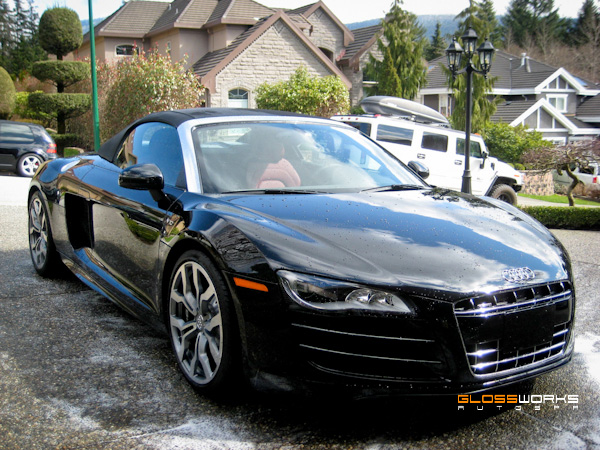
I received a phone call a few weeks back from a returning client to be informed about a new car he had just picked up. He had recently purchased a brand new 2011 Audi R8, in the V10 Spyder version. This was only one of 4 that Audi Canada has allocated for the Vancouver market this year, so this was certainly a rare car in the city. Powered by a 5.2-liter V10 engine from the Lamborghini Gallardo, this car delivers 525 horsepower and 391 lb-ft of torque, Audi’s most exotic and extreme performance vehicle.
Just like his Porsche Cayanne Turbo, the owner wanted the car properly detailed and sealed to protect from the elements before hitting the road. The car was booked for an on-site detail the following week. When I arrived, it only had 250km’s on the clock.
Enjoy the writeup!
This is how the car looked when it was pulled out onto the driveway. Clean from far…
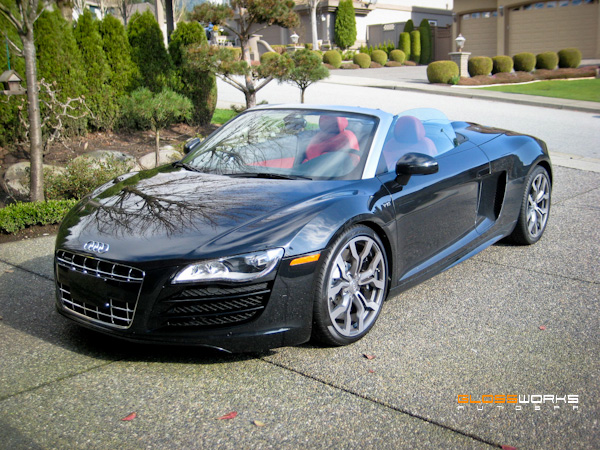
…far from clean.
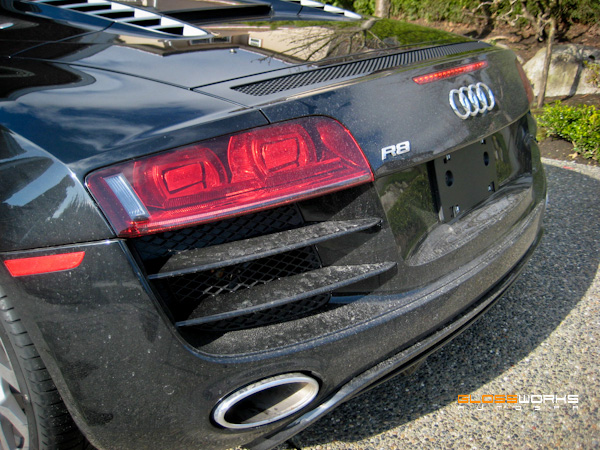
There was lots of dirt buildup due to the wet weather we had been having in Vancouver.
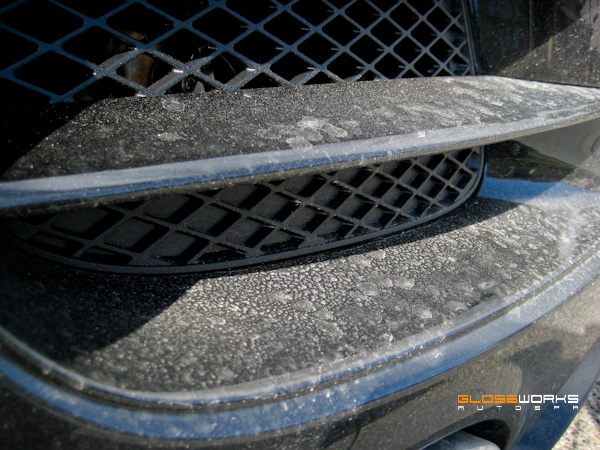
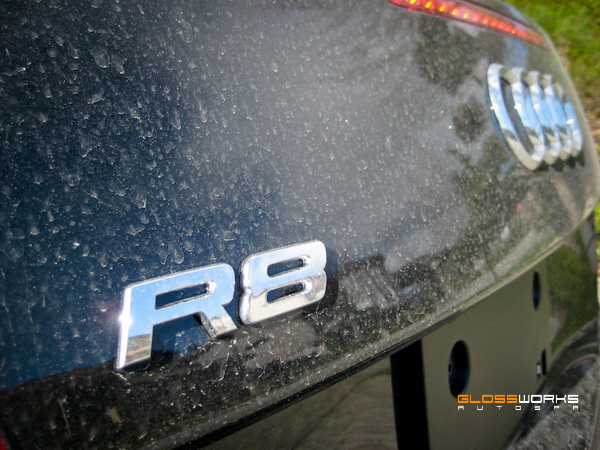
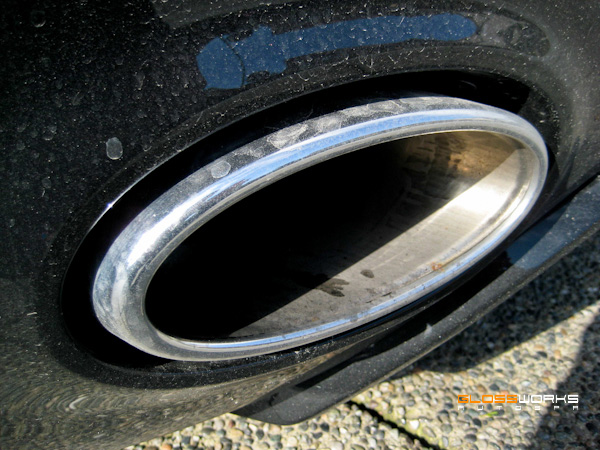
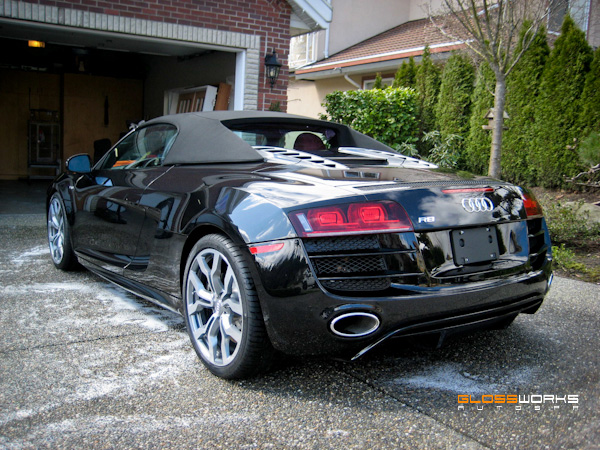
Dirt around the exhaust tips.
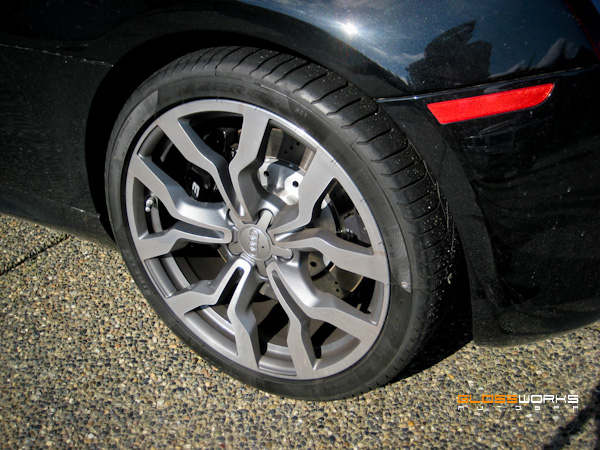
The wheels had a light layer of brake dust.
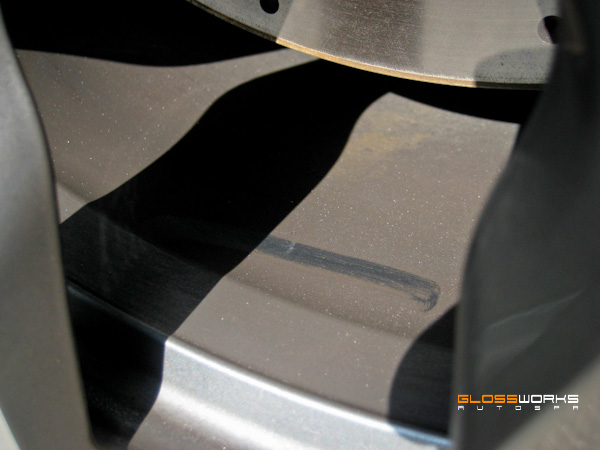
This was more visible on the barrels when given a swipe with a finger.
I started off by giving the wheels a good cleaning with the new GlossWorks Wheel Cleaner (coming soon). The intricate design of the spokes required a handful of different brushes to get clean.
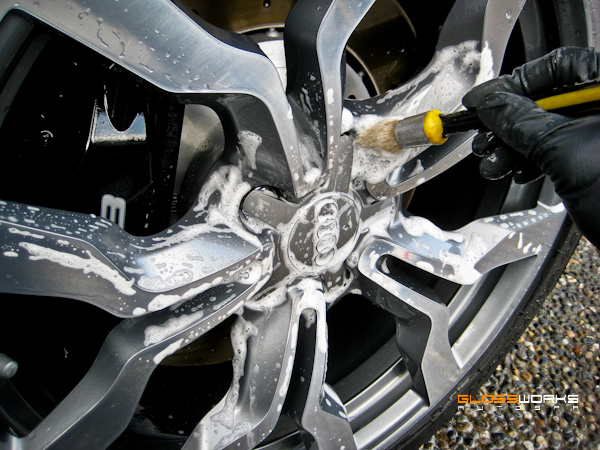
The barrels were also given a good scrubbing at this stage.
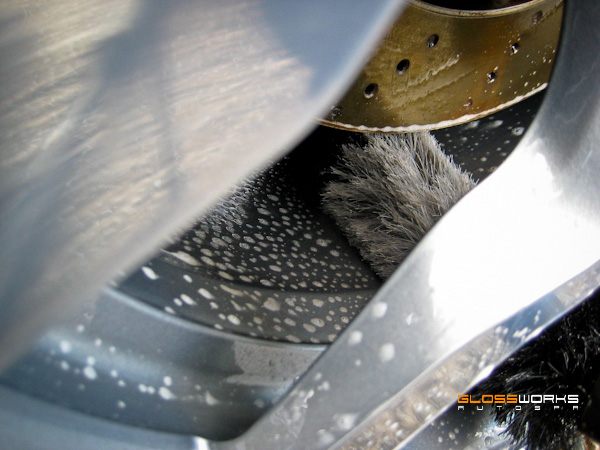
Next up was to thoroughly clean all the tight areas before the mitt wash. Note the lack of clear reflections in the paint.
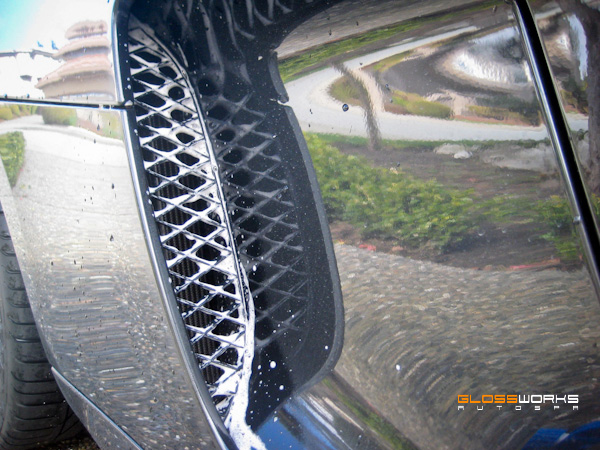
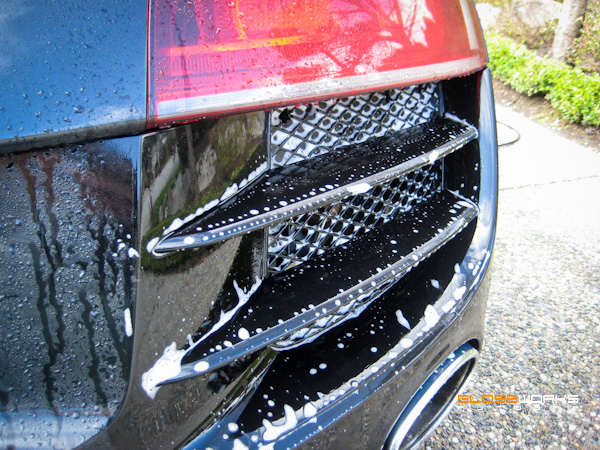
Cleaned around the badges.
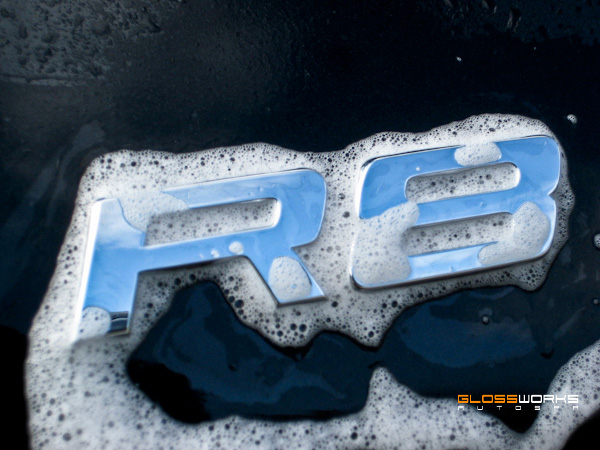
The car was then given a nice frothy foam down…
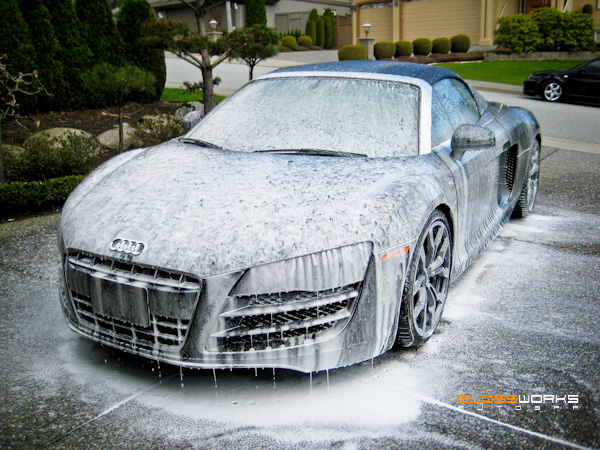
…this was allowed to dwell for a few minutes before being pressure washed off.
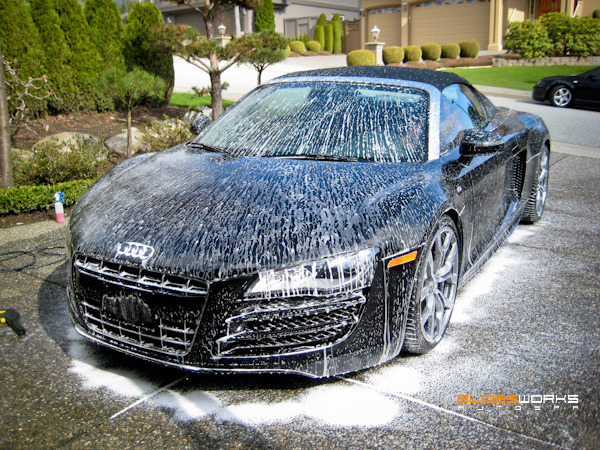
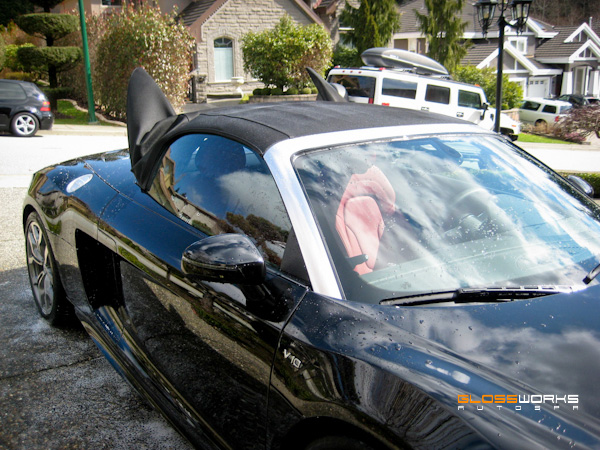
Had to lift up the rear pillars on the convertible top to wash the covered area with a mitt. Looking a little like Batman!
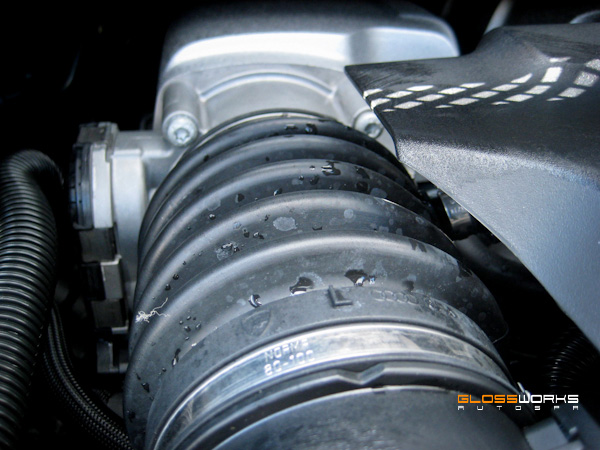
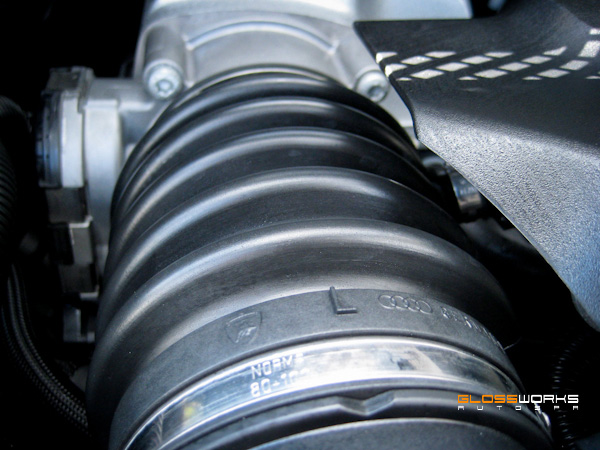
The engine bay was in fairly good shape. Just needed a few touchups.
Rubber cleaned and conditioned.
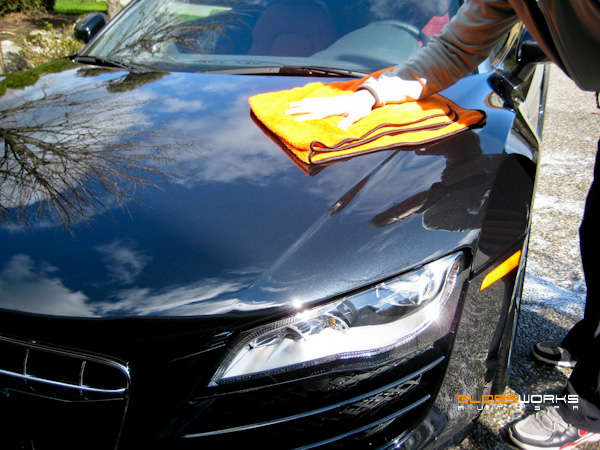
Now that the car was cleaned and clayed, it was time for drying.
This was done with a plush microfiber cloth.
With the car all dried up, it was time to search for paint defects. Let’s see how well the dealer prepped it.
There was little in the way of marring or scratches, but there were light holograms on all surfaces, slightly visible in this picture.
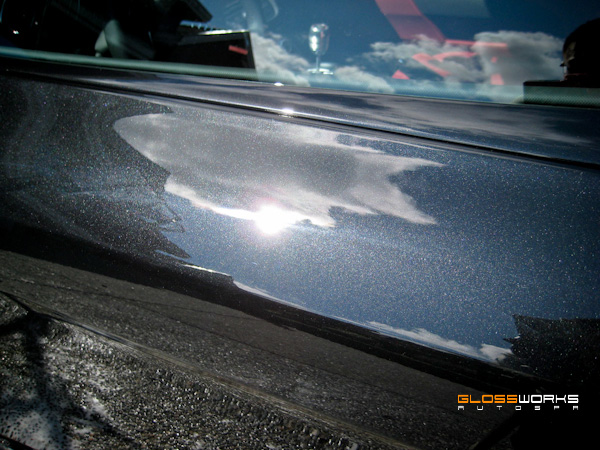
Some light scratching visible around the top of the door handle.
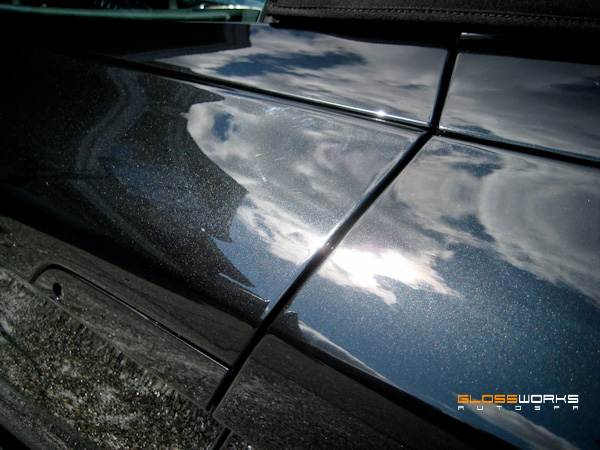
I decided that the car would receive a light single stage machine polish to remove all dealer-inflicted defects before paint protection.
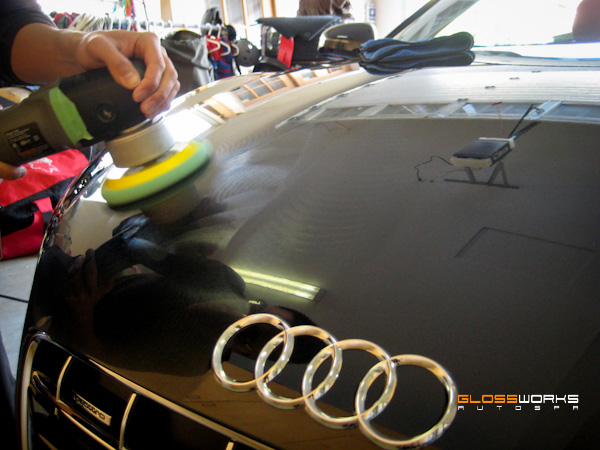
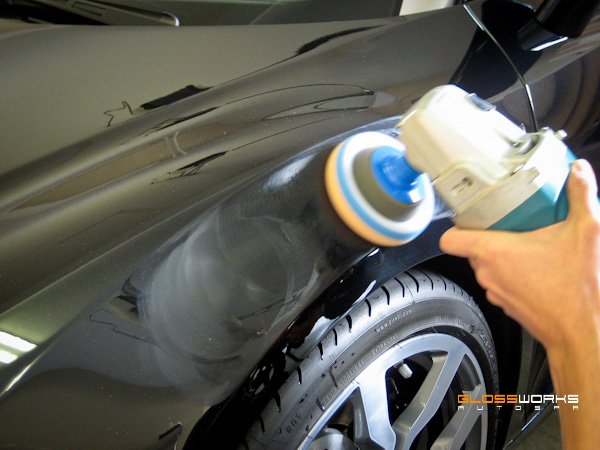
Machine polishing the gorgeous step-design of the rear convertible lid.
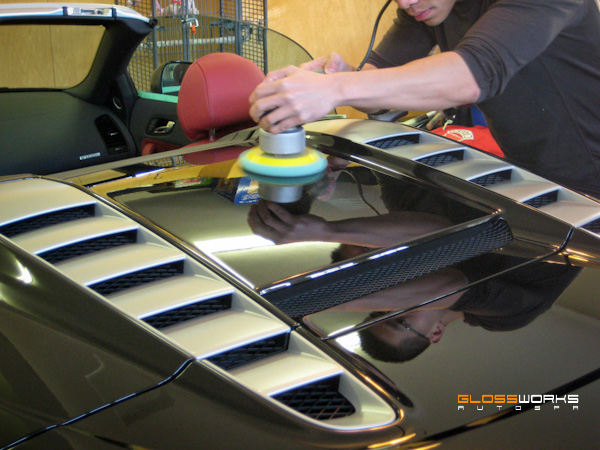
Being careful with the machine while polishing the sharp lines of this car.
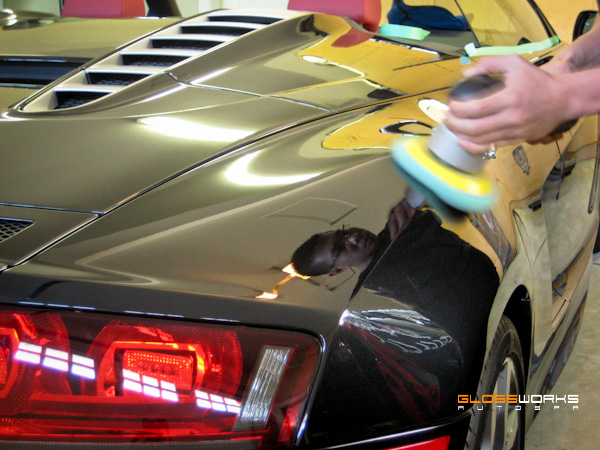
Found a deeper defect on the front fender…
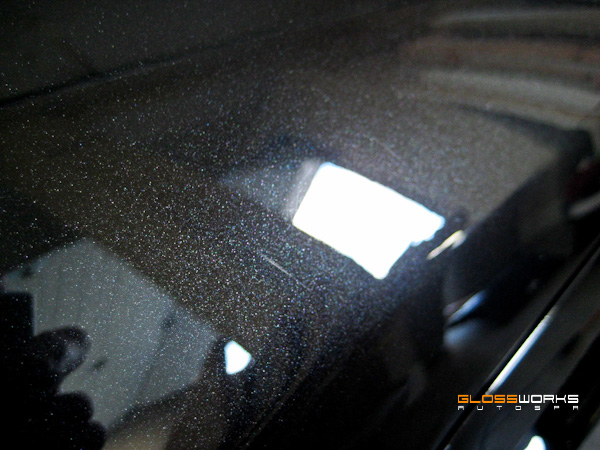
…so this was attacked with a more aggressive pad and polish combination with the rotary machine.
The tight plastic areas around the rear blades are notoriously soft and easily scratched, resulting in this.
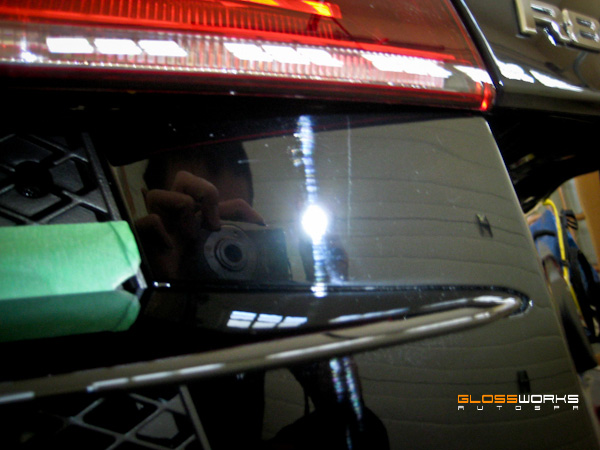
This was given a double step polish by hand…
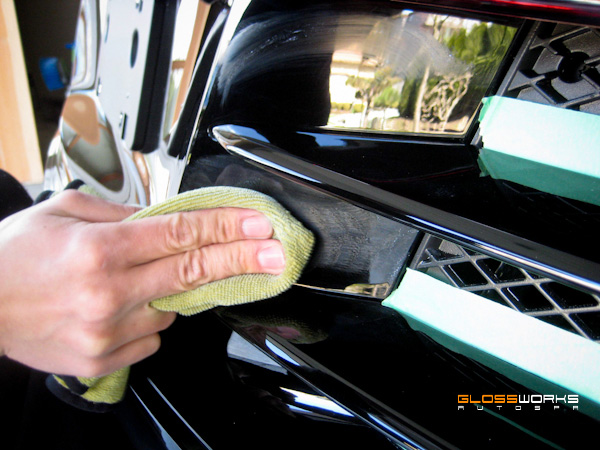
…resulting in a clearer and more vibrant finish.
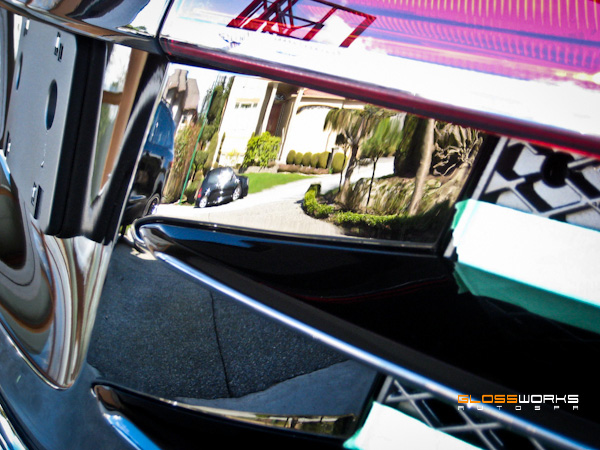
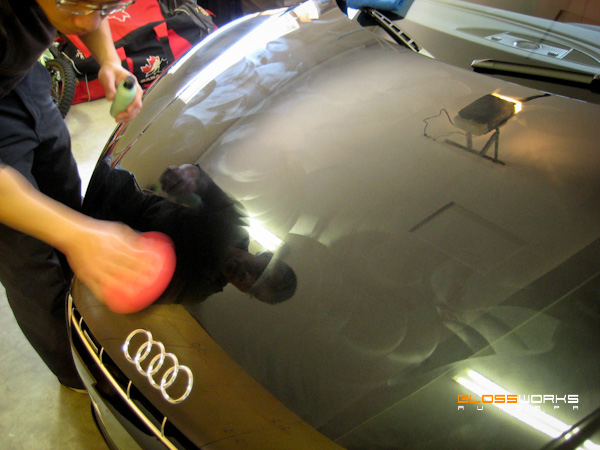
Now that the entire car was fully corrected, it was time to apply the first layer of sealant by hand.
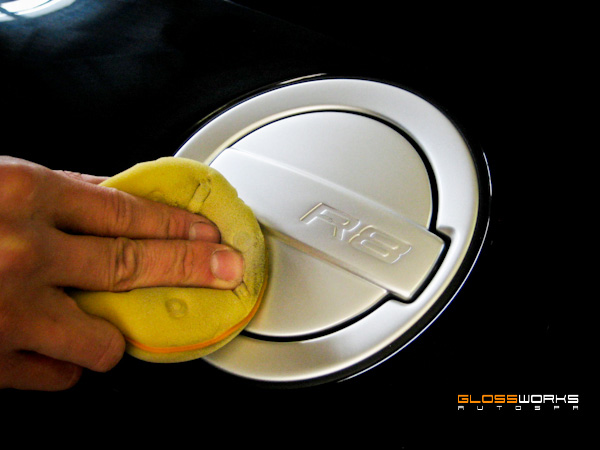
Metal sealant was applied to the A-pillar.
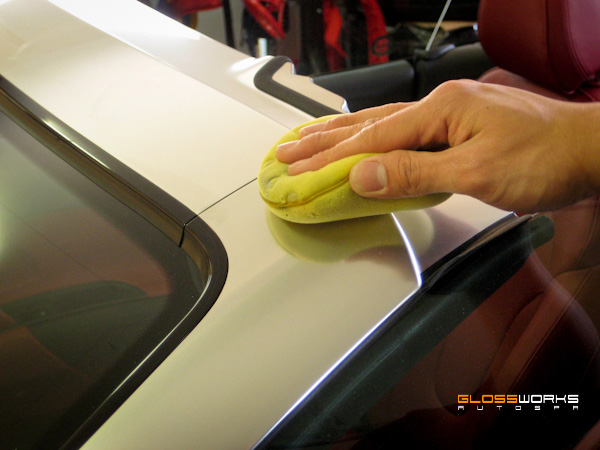
As well as all other unpainted metal surfaces such as the gas cap.
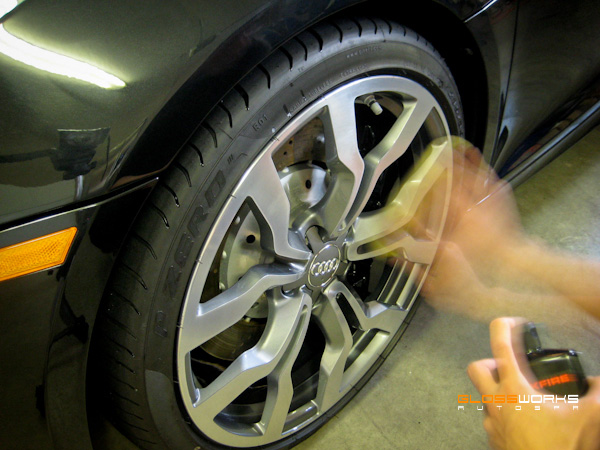
Going over the wheels with some metal sealant as well to protect from brake dust etching.
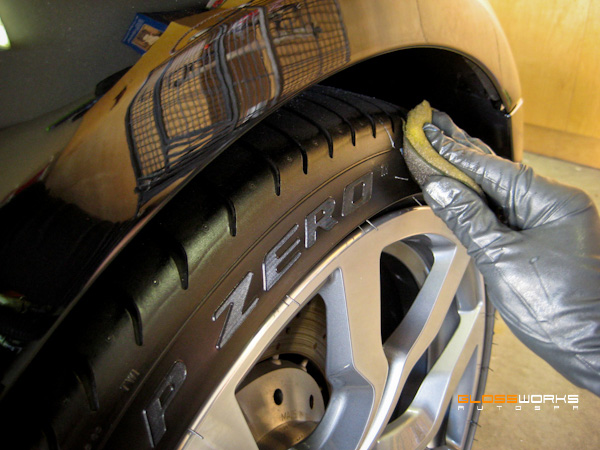
The tires got two coats of tire dressing, resulting in a subtle sheen without too much gloss.
It was time to attack the interior. Owner must have picked up some dog hair when entering the car.
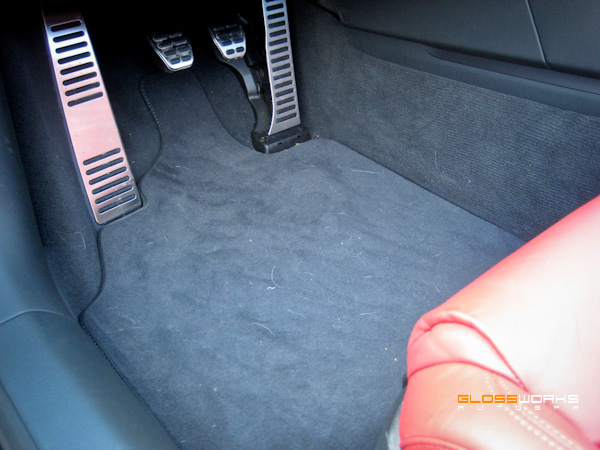
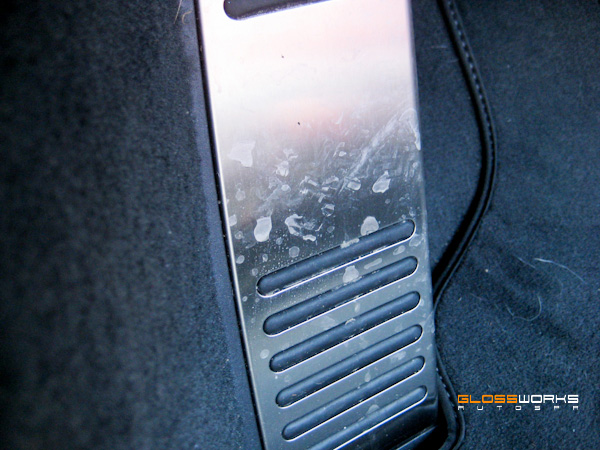
Dead pedal needing some TLC.
The seats just needed a good vacuum and a coat of leather conditioner.
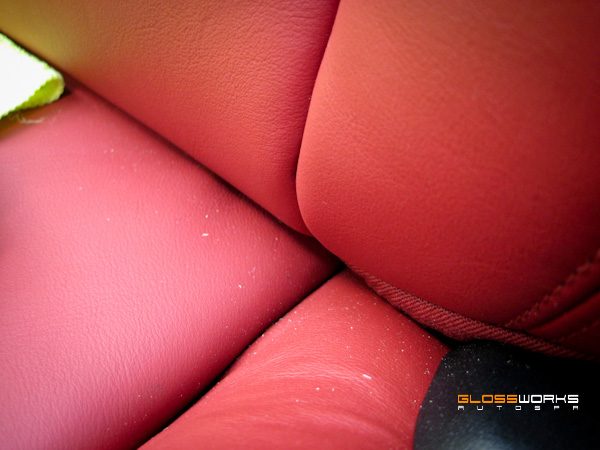
General light dust on all interior surfaces, to be expected from a car with a convertible top.
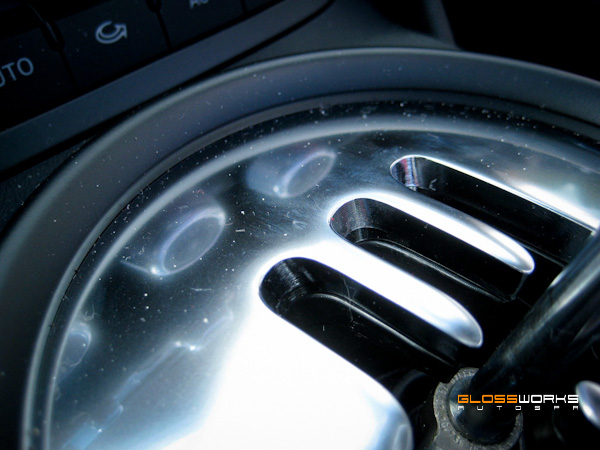
All interior surfaces were given a good dusting and wipedown with cleaner for a clean, natural look.
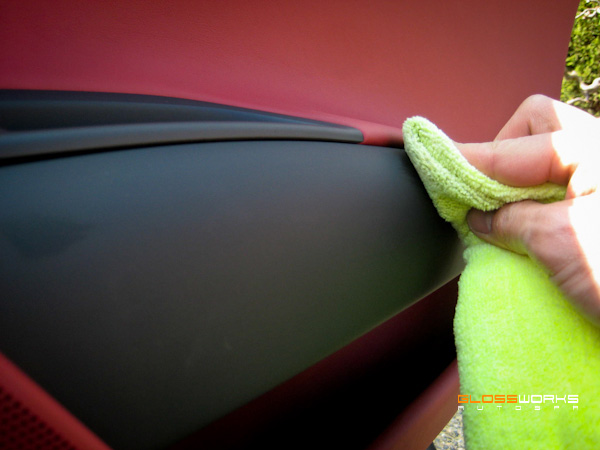
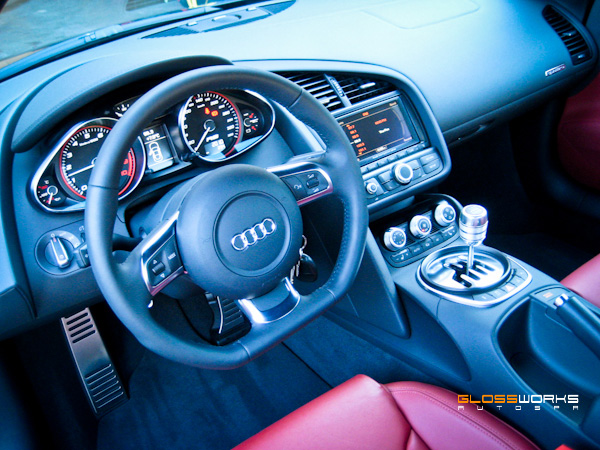
Interior all complete. I am in love with the gated shifter!
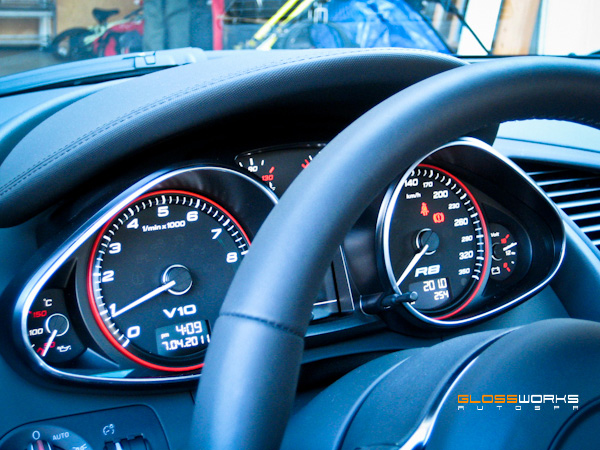
As well as the gauges!
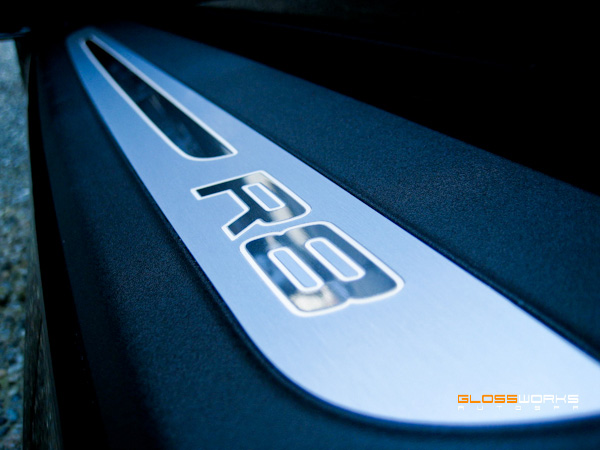
Door sills were cleaned and dressed, leaving this finish.
The car was then pulled outdoors for a final inspection.
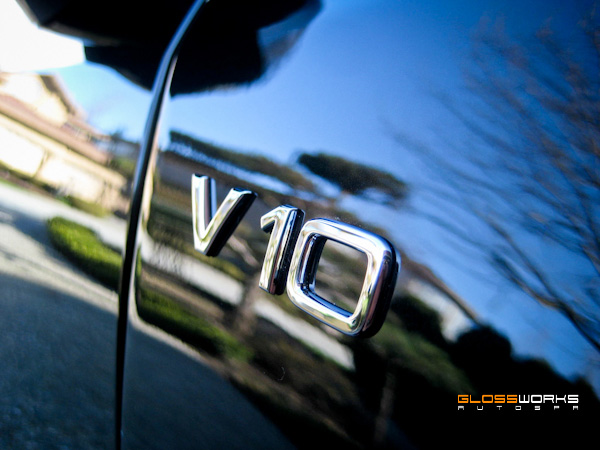
All the dirt removed from around the emblems.
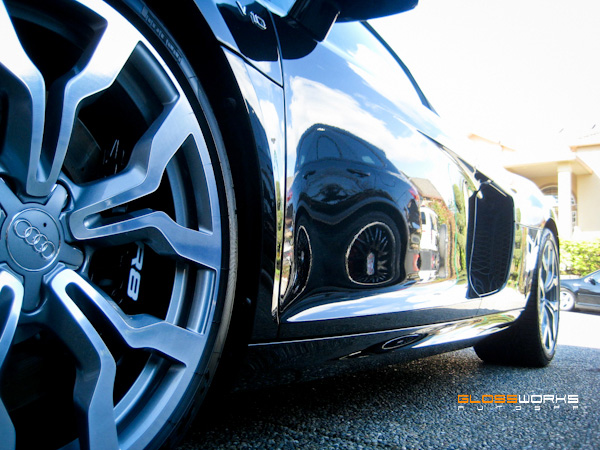
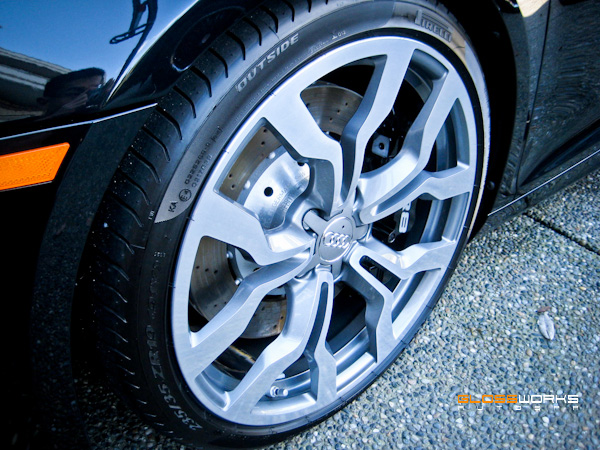
The wheels are looking much shinier now.
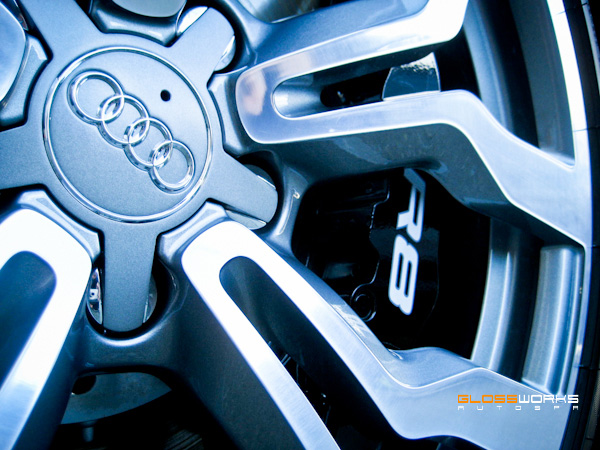
Props to the desingers at Audi for an intricate yet refined design of their R8 V10 wheels.
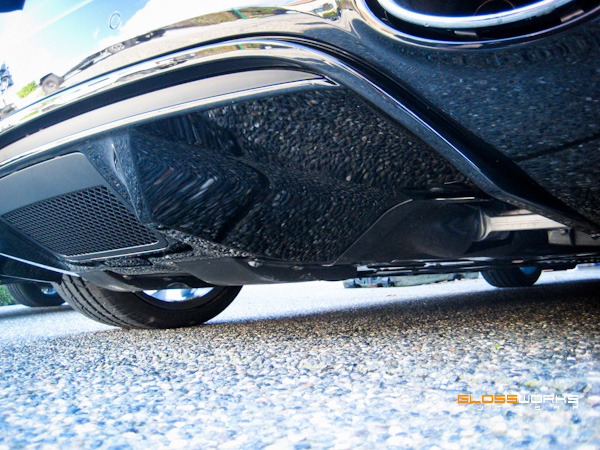
I had forgotten to apply sealant on the bottom rear diffuser so that was taken care of.
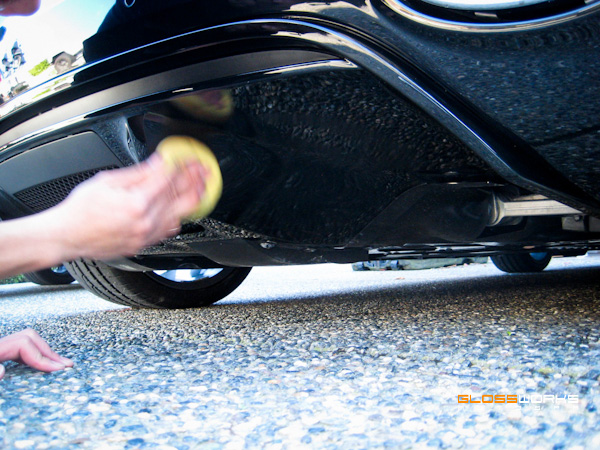
Allowed to cure and then buffed off, leaving this finish, just in case you enjoy bending over to admire the gloss.
I really adored the design of the rear “step” design of the engine vents and rear lid, so I went a little camera crazy. Enjoy the reflection shots!
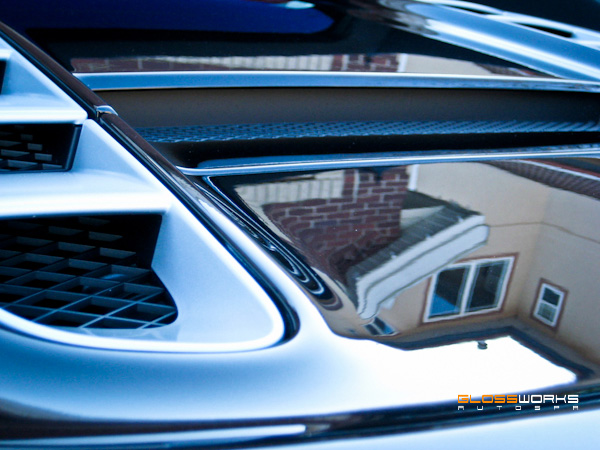
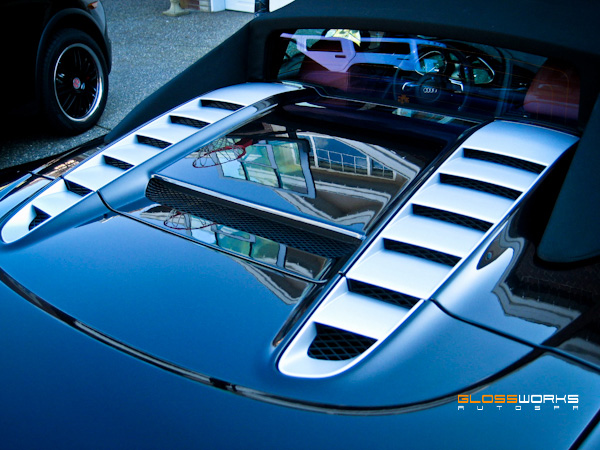
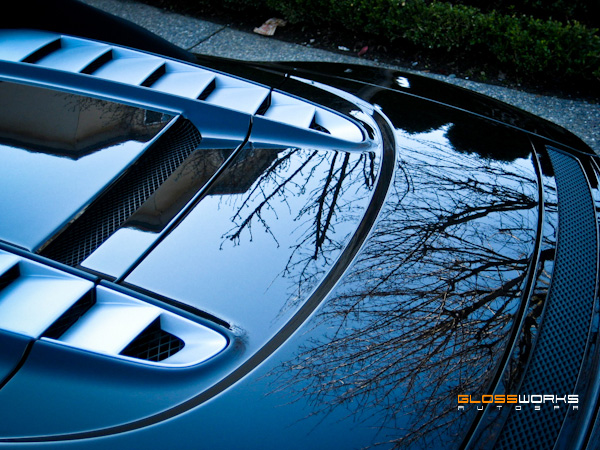
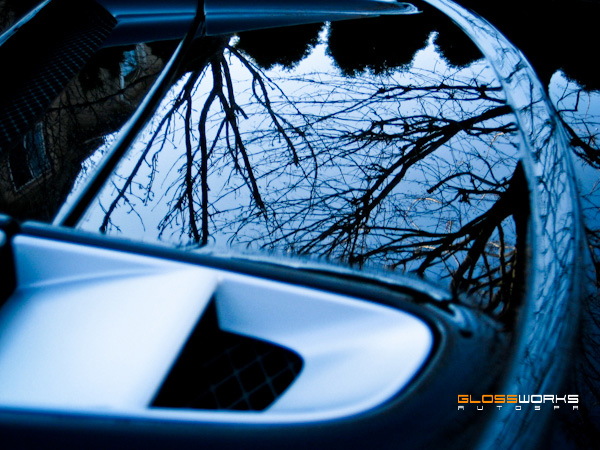
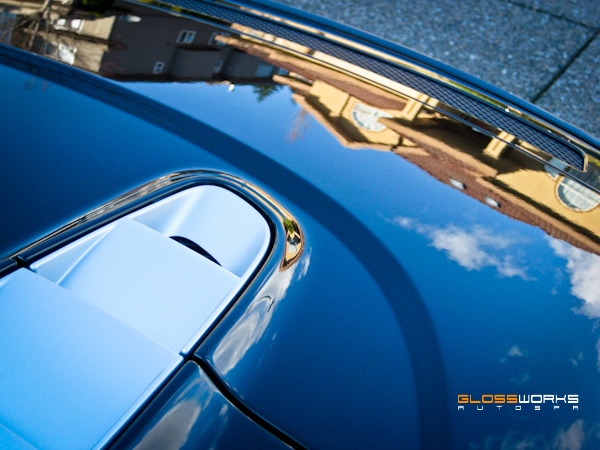
Reflection off the hood, a rare beautiful day in rainy Vancouver!
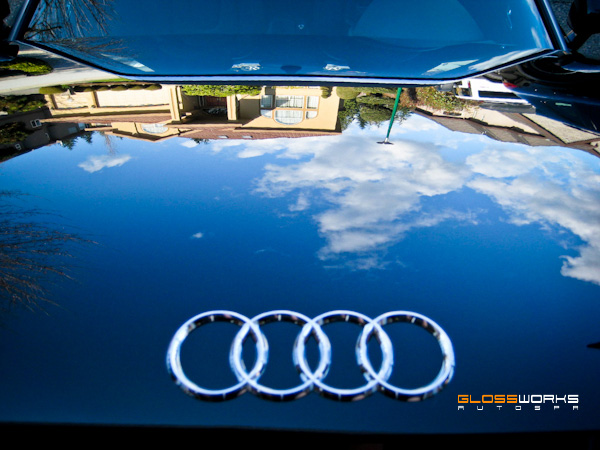
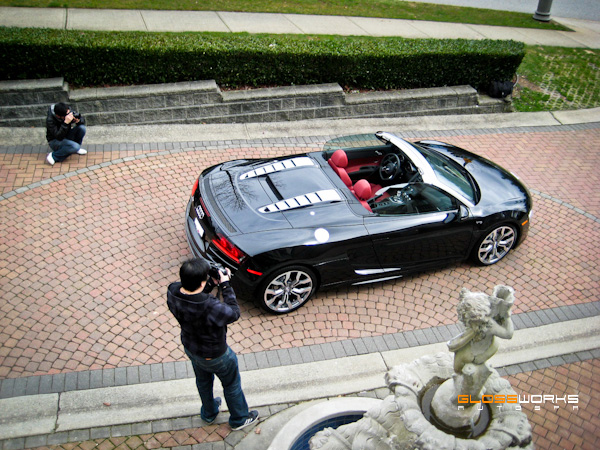
I returned a few days later and took the car out for a photoshoot with a couple excellent local photographers. Stay tuned for those pictures!!

Top notch work Terance!
Can’t wait till I have a car worthy of your work!!
Thanks Kendall! I’d say that your BIG turbo’d Audi is certainly worthy of some loving!